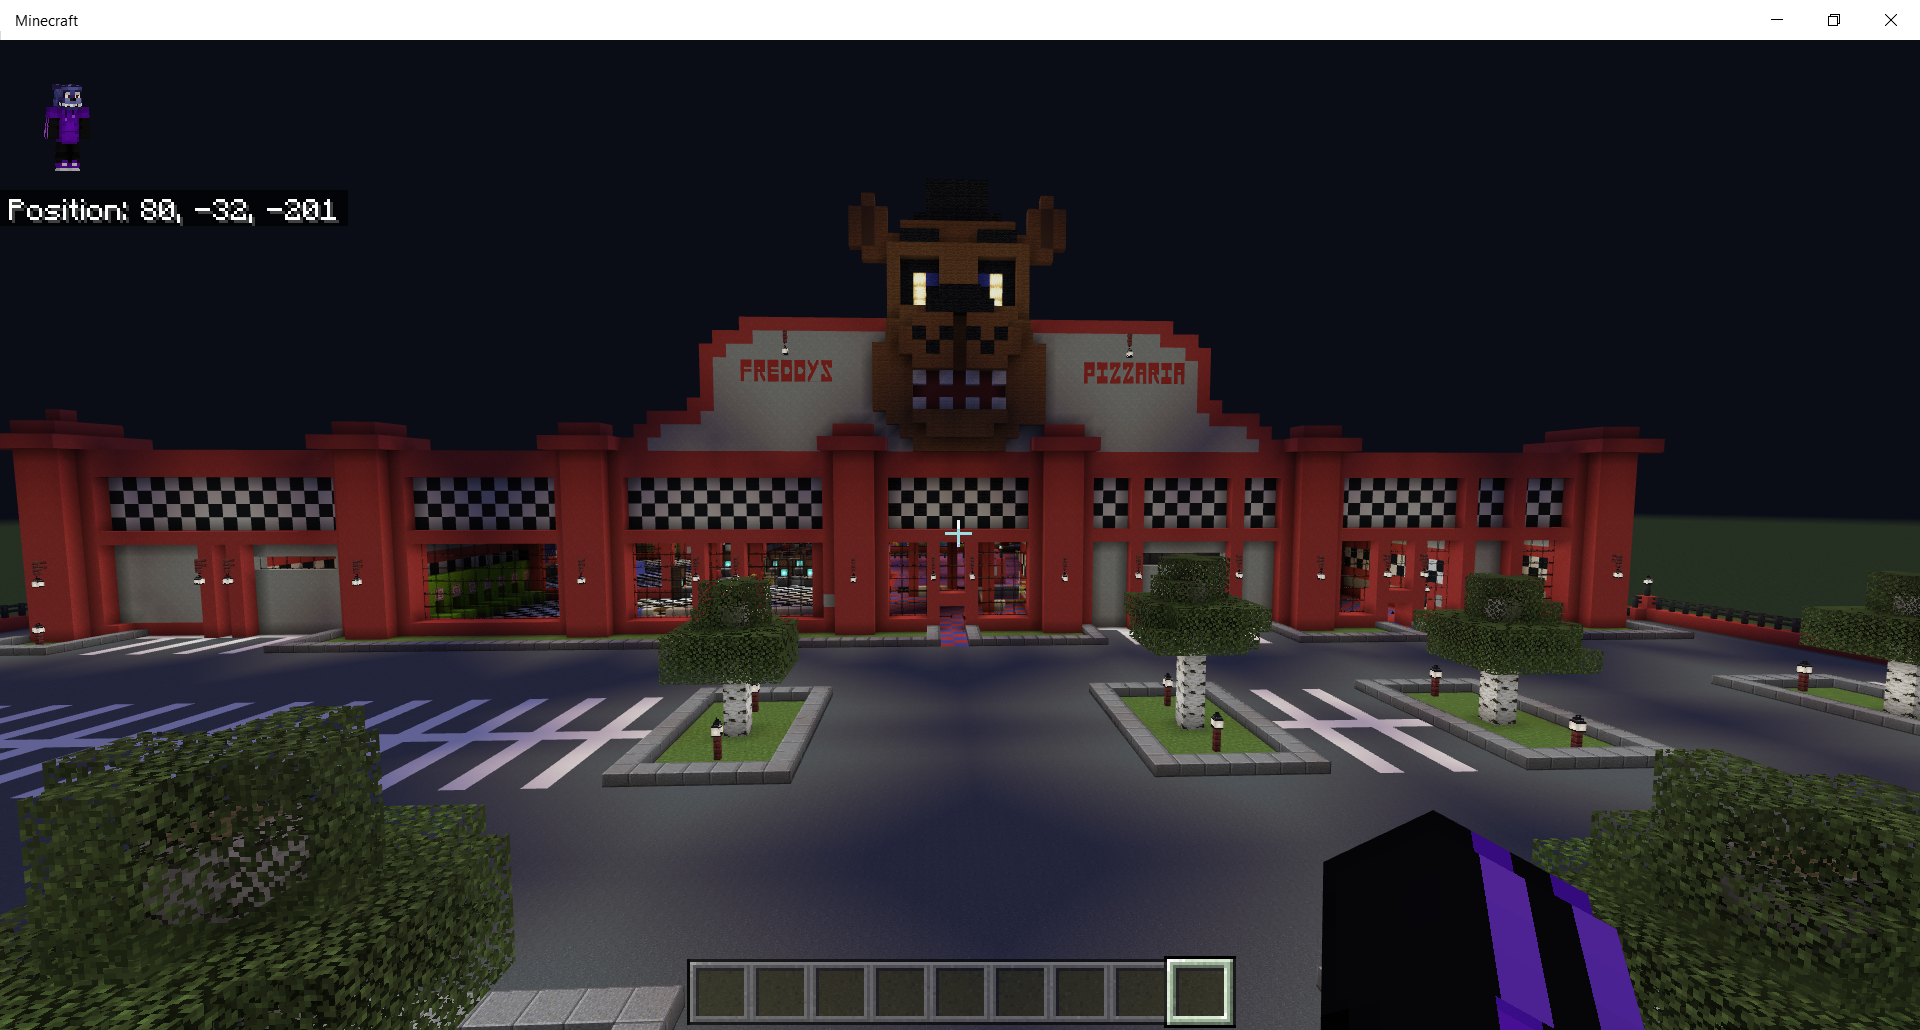
We are currently working on Freddy's Pizzeria with a Theme Park. For now this…
How to Change Biomes in Minecraft Bedrock Using Mcedit
Note: As of the Minecraft Bedrock 1.16 update, the process below no longer works. Instead see our post on using Amulet to change the biome in Minecraft Bedrock. It works in the same way as Mcedit, because it was made by the creators of Mcedit. For a Tutorial on using Amulet to Change Biomes in newer versions of Minecraft Bedrock see our post How to Change Biomes in Minecraft Bedrock
There are a lot of world editors for Minecraft Java, but when it comes to Minecraft bedrock resources to alter the world easily, like changing biomes, are limited. However, there are programs that can do it, they just require some work around to get them to work and have often a few bugs here and there. In this post we are going to show how to change a biome or multiple biomes in a Minecraft Bedrock world.
First, you will need to download MCCToolChest PE
and MceditUnified-Testing 1.6.0.53
Next, create your world seed in Minecraft Bedrock. It is best to create the seed in creative mode, since you need fly around the areas you want to modify so they will show up in MCedit.
Note: If you plan on playing the world in Survival and want to get Achievements you can reset the world’s file by setting gameloadedincreative to 0 in the worlds level.dat file using MCCToolChest later.
Once you have downloaded the two programs and loaded the chucks in your world by flying the areas, close Minecraft and open MCCToolChest.
Go to File > Open and click on the world you just created, by clicking open:

Next, select the world you wish to open:

And then Tools > Misc > Change Block State Format:

and click Change Blockstate format to 1.12.

This will not alter the Nether Update or Ruined Portals so do not worry. However, it may cause some doors to be misplaces in villages and vines to not show up completely in Jungle biomes. This will not harm your world however.
Once complete save the world and close MCCToolChest.
Next, open MceditUnified-Testing, which will be located in your downloads folder, even if you have already extracted it.
Click Open: in Mcedit to open your world:

Mcedit will ask you to pick which world folder you want to modify.

Note: If you are unsure of how to find this folder, search your OS by going to OS and typing Minecraft in the search bar or you can try typing Minecraft in the Cortana search bar on your PC. Look for a folder call Minecraft UWP.
Once your computer finds the folder, add it to quick access in the side bar for later so you wont have to search in the future.
Next, in your Minecraft folder, go to local state > games > com.mojang > and minecraftworlds.

. Keep navigating to the world folder and in Mcedit open the level.dat file for your world.

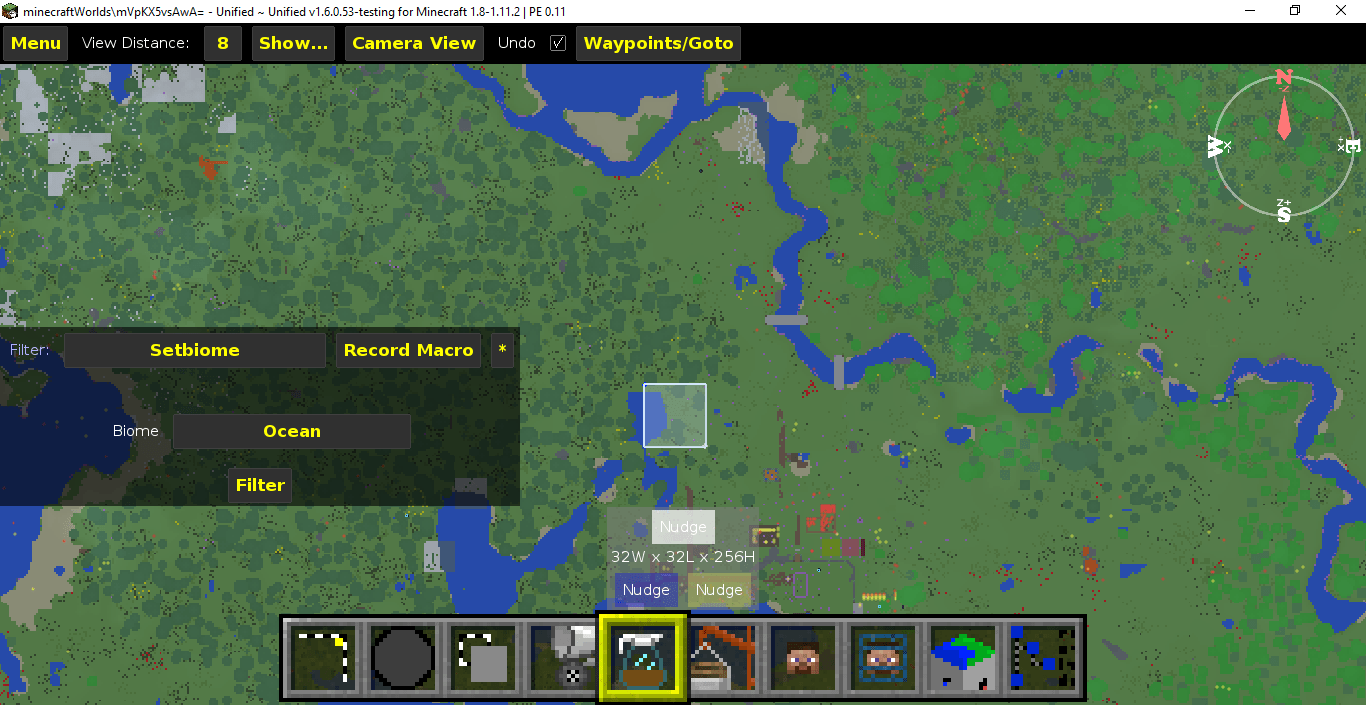
Once your world is loaded, pick the area you want to change by selecting the area, then click the select square in the bottom toolbar. It is the first square in the toolbar below. Highlight the area dragging your mouse to the size you want to change:

Next, click the select square again and then the filter square as shown:


A box with the biomes listed will pop up as shown above. Chose which biome you want to change to. Do this in all the areas you want to change. Note that if changing to cold biomes, you will get snow and frozen water in a square/chunk shape so be careful to try to modify these areas to look more natural.
And that is it. Close and save Mcedit and load your world in Minecraft. Any, future changes to the same world will need to be opened in the same way by changing the block state format first.
Alternatively, if you can no longer get Mcedit to work with Bedrock (as of the .1.16 update (some people are having trouble since this update) use Amulet instead. It works in the same way as Mcedit because it was made by the creators of Mcedit.
Related Posts